A broken tap is usually the end of a chain of process problems, not just a weak tool. Change one variable at a time and record the result.
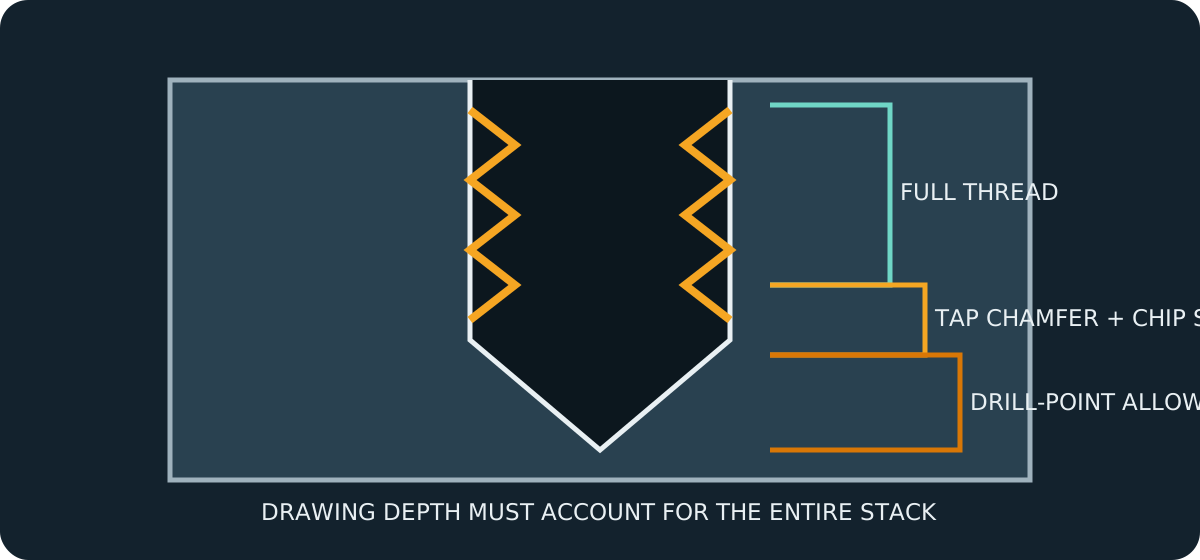
Check the hole first
Confirm the drill designation and actual hole condition. A wrong or worn drill, work hardening, runout or incomplete chip evacuation can make the hole effectively harder to tap than expected.
Match tap style to the job
Through holes, blind holes and different materials need different chip strategies. Follow the tap manufacturer’s direction for tool geometry, lubrication and operating parameters.
Treat rising torque as evidence
A healthy process has a repeatable torque pattern. A sudden or progressive rise can indicate a small pre-hole, worn edges, chip packing, poor lubrication, misalignment or bottom contact.
Stop and investigate before the tap fails. Replacing it without correcting the cause often sacrifices the next tool in the same hole.
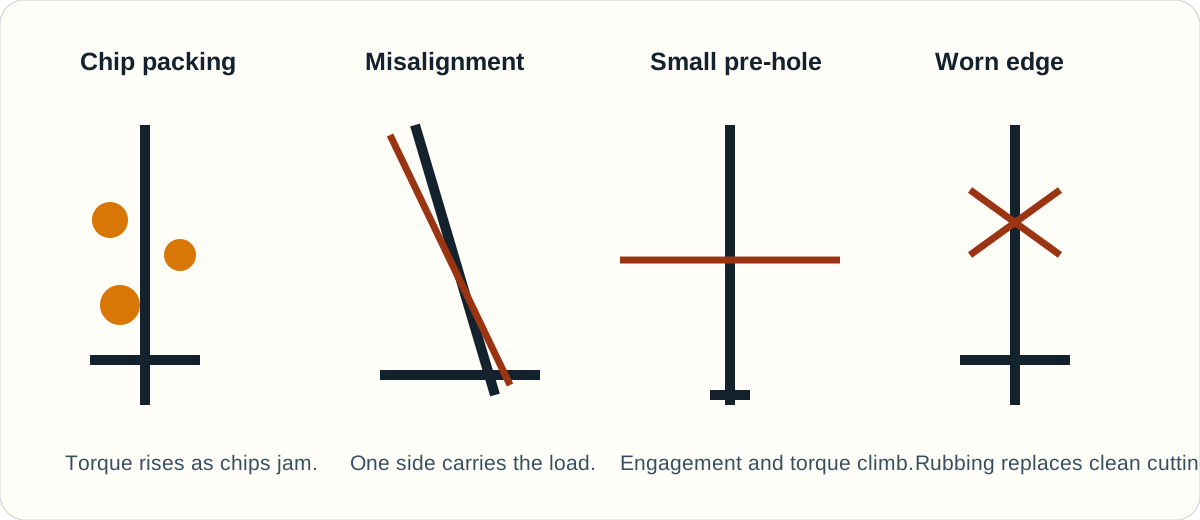
Control the complete setup
Verify actual hole diameter and depth, not only drill markings. Clean holders, minimize overhang, align the tap with the drilled axis and secure the work so it cannot shift.
Match tap geometry and chip direction to the material and hole type. Use maker-recommended cutting data and lubrication; arbitrary manual reversing can worsen chip packing for tools designed to run continuously.
Respond safely to a failure
Stop the machine and isolate stored energy before inspection. Do not grab sharp chips or a fractured tap, and protect eyes and hands during any approved removal method.
After removal, inspect the hole and document the cause. A damaged entrance or embedded fragment may make repair or controlled scrapping safer than attempting to continue tapping.
Do not hold work by hand near powered tools or attempt hazardous tap extraction without suitable guarding and procedures.
Technical references
- Tap Drill Sizes and Technical Formulas — Guhring, Inc.. Accessed 2026-11-10.
Standards references identify scope and terminology; protected dimensional tables are not reproduced.